How To Install Drip Irrigation For Potted Plants: The Right Way
Drip irrigation is an effective way to ensure that potted plants receive the right amount of water they need without any wastage. It conserves water and saves time and effort compared to manual watering.
However, installing drip irrigation for potted plants may initially seem daunting, but with the right tools and techniques. Now you may be thinking about how to install drip irrigation for potted plants.
To install a drip irrigation system for potted plants, you’ll need to attach a timer and water line to a tap, connect the drip irrigation tubing to the water line and then place the emitters near the plants. Finally, adjust the timer to the desired watering schedule.
In this guide, we will guide you through the step-by-step process of installing drip irrigation for your potted plants. From choosing the right equipment and materials to setting up the irrigation system, we’ll cover everything you need to know to keep your plants healthy and hydrated.
Benefits Of Using Drip Irrigation For Potted Plants
Potted plants require proper watering to ensure healthy growth. Drip irrigation is an effective way to water potted plants, which involves a slow and steady water supply to the soil.

Here, we will discuss the benefits of using drip irrigation for potted plants.
Conserves Water
Drip irrigation for potted plants is an efficient method that conserves water. It delivers water slowly to the plant’s roots, reducing water runoff and evaporation. This method ensures the water reaches the plant’s roots, reducing water wastage and ensuring the plant receives the required water.
Maintains Soil Moisture
Drip irrigation for potted plants helps to maintain soil moisture levels. Overwatering can lead to soil becoming soggy, which can harm plant roots. This method supplies water slowly, allowing the soil to absorb the water, which helps to maintain the correct moisture level.
Prevents Soil Erosion
Drip irrigation for potted plants prevents soil erosion. Water runoff can cause soil erosion and make maintaining the plant’s roots challenging. Drip irrigation supplies water directly to the plant roots, preventing water from running off and causing soil erosion.
Easy to Install
Drip irrigation systems for potted plants are easy to install. A DIY drip irrigation system can be made with basic tools, such as a drill and a drip irrigation kit. The kit usually contains drip heads, tubing, valves, and other necessary components. Installing a drip irrigation system can be done in a few simple steps.
Flexible and Adjustable
Drip irrigation systems for potted plants are flexible and adjustable. The amount of water delivered can be adjusted to meet the plant’s specific needs. Drip heads and drippers can be placed strategically to ensure water is delivered directly to the plant’s roots.
How To Install Drip Irrigation For Potted Plants?
Drip irrigation is an efficient and effective way to water potted plants. It ensures that water is delivered directly to the roots of the plants, promoting healthy growth and minimizing water waste. Installing drip irrigation for your container plants is a simple process that can be completed with a few basic tools and materials.
Step 1: Gather Materials
To install a DIY drip irrigation system, you will need the following tools and materials:
- Drip irrigation kit (includes drip heads, tubing, and connectors)
- Vinyl tubing (1/4 inch diameter)
- Dripper micro heads
- Adjustable dripper stakes
- 1/4-inch vinyl tee fittings
- 1/4-inch faucet adapter
- 1/2-inch poly faucet fitting
- Container plants
- Soil
- Automatic timer
- Bottle with water
- Pressure regulator
- Sprinkler spikes
Step 2: Connect Drip Irrigation to Faucet
The first step is to connect the drip irrigation system to your outdoor faucet. Start by screwing the 1/4-inch faucet adapter onto the faucet, then attach the 1/2-inch poly faucet fitting to the other end. This will regulate the water pressure coming from the faucet.
Step 3: Lay Tubing
Cut the vinyl tubing to the desired length, then lay it around your container garden. Measure the tubing accurately to ensure it reaches all of your potted plants.
Step 4: Install Dripper Heads
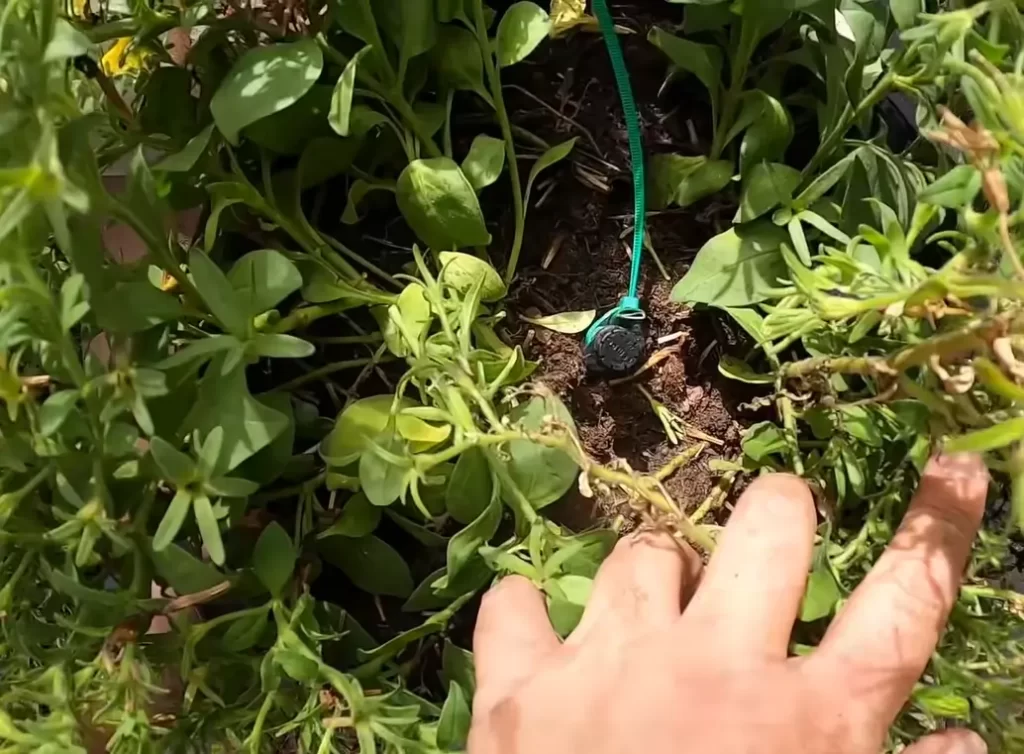
Install the drip heads onto the vinyl tubing, spacing them out evenly along the tubing. You can also Install an adjustable dripper stake onto the vinyl tubing for each container plant.
Step 5: Attach Micro Sprays
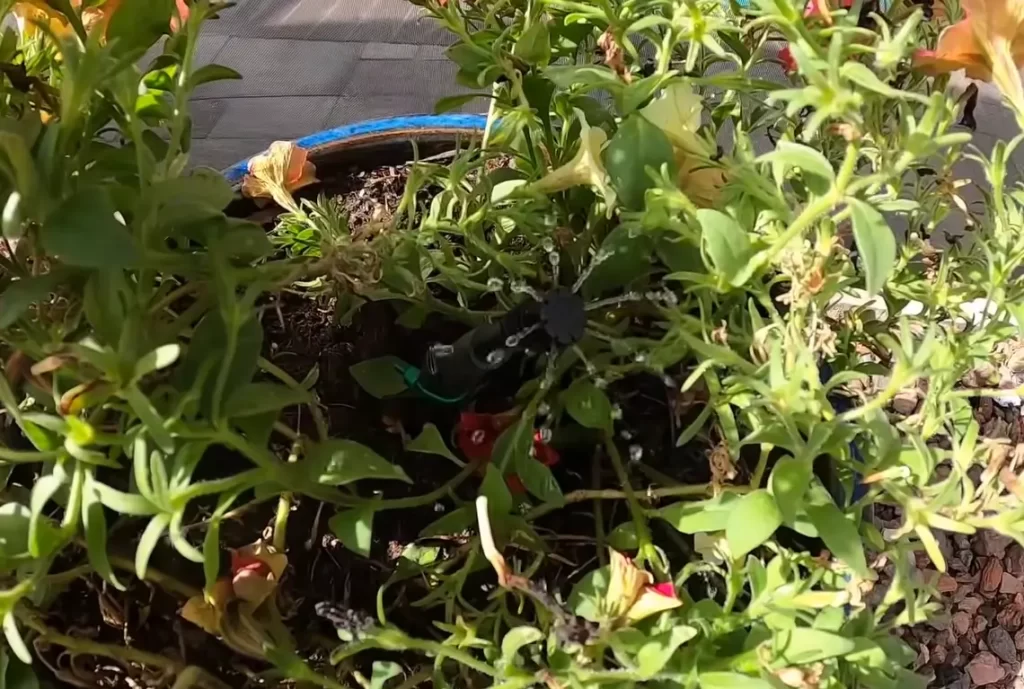
Attach the micro sprays onto the vinyl tubing at the desired locations. These will provide an even distribution of water to your container plants.
Step 6: Insert Sprinkler Spikes
Insert sprinkler spikes into the soil around your potted plants. These will keep the tubing in place and prevent it from shifting around.
Step 7: Set Timer
Set the automatic timer to turn on and off at specific intervals. This will ensure that your plants receive the right amount of water during specific periods of the day.
Step 8: Test Watering System
Test the watering system to ensure it works correctly. Fill the bottle with water and insert it into the top of the drip irrigation system. Turn on the water and make sure that water is being distributed evenly to each container plant.
Step 9: Monitor Soil Moisture
Periodically check the soil moisture level of your container plants to ensure they receive the right amount of water. Adjust the drip irrigation system as necessary to maintain healthy plants.
Troubleshooting Common Problems When Installing Drip Irrigation For Potted Plants
Drip irrigation is an efficient and effective way to water potted plants in a container garden. However, installation can present challenges.

Here are some common problems and solutions to help you troubleshoot and achieve healthy plants.
- Inadequate Water Pressure: If your water pressure is too low, your drip irrigation system will not be effective. Check the faucet and ensure the water pressure is at least 20 PSI. If it is lower than that, you can use a pressure regulator to increase the pressure to an acceptable level.
- Incorrect Installation: Proper installation is key to the success of your drip irrigation system. Follow the instructions carefully, and ensure all connections are tight and secure. If unsure about any step, consult the instruction manual or online tutorials.
- Inconsistent Water Distribution: Check your drip heads if you notice that your plants are not receiving water evenly. Sometimes, the holes in the drippers can become clogged with dirt or other debris. Try cleaning the drippers with a small tool or replacing them altogether.
- Using the Wrong Tools: Using the wrong tools can make installation difficult and can damage the components of your drip irrigation system. Make sure that you have the necessary tools, such as scissors or a knife to cut tubing, pliers to attach fittings, and a hole punch to create holes in the tubing.
- Uneven Soil Moisture: Check the soil moisture level if your plants are not receiving enough water. The soil should be moist but not soggy. If the soil is dry, increase the frequency and duration of watering. If it is too wet, reduce the amount of water.
Final Thoughts
Installing a drip irrigation system for potted plants is a great way to ensure your plants receive the water they need without causing water waste. Hopefully, this guide helps you understand how to install drip irrigation for potted plants.
Typically, to install the system, you will need to decide which type of drip irrigation system to use, measure the area of the pot, cut the tubing to size, attach the tubing to the watering device, and secure the tubing to the soil.
